
So you’re craving something warm, intensely cheesy, and dripping in garlic butter, but you also don’t want to spend three hours standing over a stove like a Victorian orphan? Same. Honestly, life is far too short to knead dough until your forearms ache, especially on a Tuesday night when your brain is already scrambled.
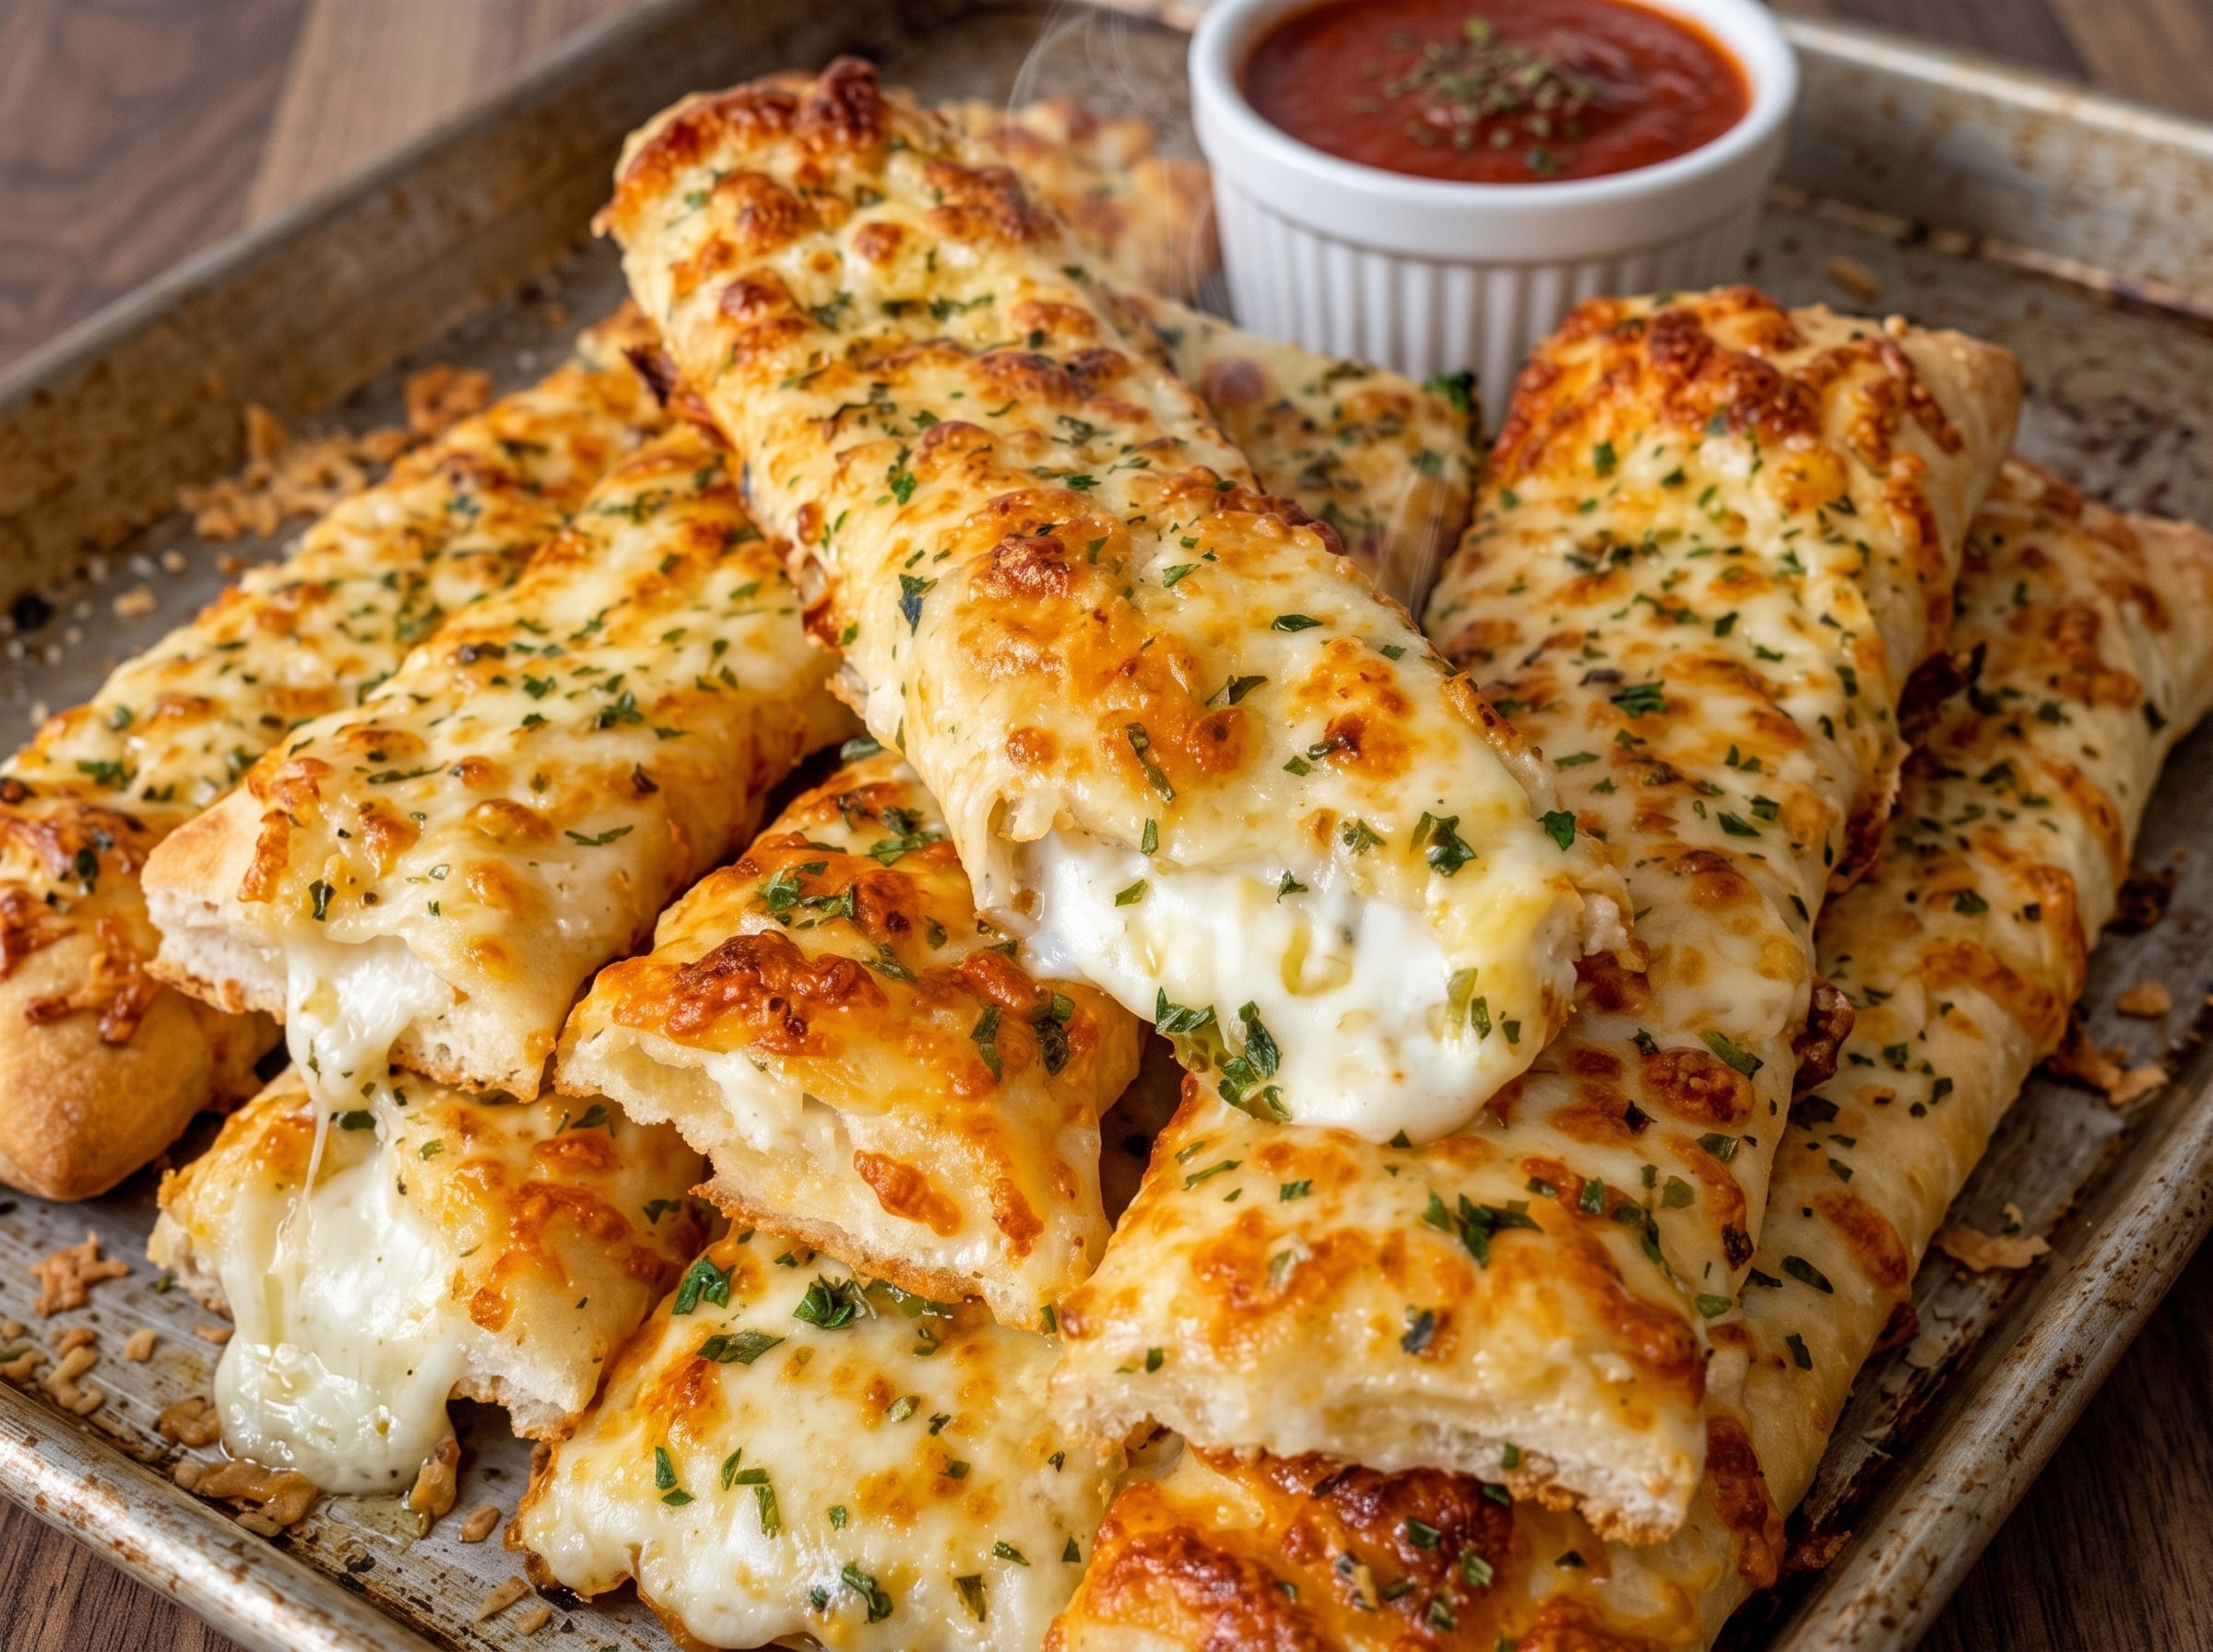
Enter: Stuffed Garlic Breadsticks with Marinara. We are talking about soft, golden-brown pillows of dough packed to absolute capacity with molten, stretchy mozzarella cheese, brushed with a glorious, herb-speckled garlic butter, and plunged into a warm, tangy marinara sauce. It’s the ultimate comfort food, the undisputed king of game night snacks, and the exact reason sweatpants were invented. Grab an apron (or don’t, we’re not judging), crank up your oven, and let’s make some magic.
Why This Recipe is Awesome
First of all, it’s basically idiot-proof. Seriously, even if you regularly burn toast or consider boiling water an accomplishment, you can pull this off. We’re using a couple of smart shortcuts that make this recipe fast, painless, and ridiculously satisfying without sacrificing a single ounce of flavor.
Here is why you are going to fall in love with these breadsticks:
- Maximum Cheese-to-Bread Ratio: Normal garlic bread is great, but stuffed garlic bread is a whole life upgrade. Every single bite delivers a massive stringy cheese pull that belongs on a billboard.
- Minimal Effort, High Reward: Thanks to pre-made dough, you can get these into the oven faster than it takes a delivery driver to find your house.
- The Smell Alone Will Fix Your Mood: Brushing melted garlic butter over baking bread fills your kitchen with an aroma so heavenly it should probably be bottled and sold as expensive perfume.
- Total Crowd-Pleaser: Serve these at a party, watch them disappear in precisely ninety seconds, and gracefully accept all praise as if you went to culinary school in Paris.
Ingredients You’ll Need
Don’t panic—there are no weird, hard-to-pronounce ingredients here. Everything on this list can be grabbed in a quick five-minute run through your local grocery store.
For the Breadsticks:
- 1 can (13.8 oz) refrigerated pizza crust or store-bought dough: The ultimate shortcut. You can use homemade dough if you want to flex, but canned pizza dough gets the job done with zero judgment.
- 8 mozzarella string cheese sticks: Mozzarella sticks are engineered by culinary gods for uniform melting. They hold their shape while baking and give you that legendary stretch.
- 1 tablespoon olive oil: Just a light coating to help seal the dough seams so your precious cheese doesn’t leak out onto the pan.
For the Garlic Butter topping:
- 1/4 cup (1/2 stick) unsalted butter, melted: Real butter only, please. Margarine has no power here.
- 3 cloves garlic, finely minced: Or 1 teaspoon of garlic powder if you’re feeling extra lazy. Fresh garlic gives it a fiery punch, while powder gives a smooth, classic pizzeria vibe.
- 1 tablespoon fresh parsley, finely chopped: (Or 1 teaspoon dried parsley). Mostly here so we can pretend there’s a vegetable involved and feel healthy.
- 1/2 teaspoon Italian seasoning: A quick herb mix that adds depth and aroma.
- 1/4 teaspoon garlic salt: Because regular salt is fine, but garlic salt is superior.
- 2 tablespoons grated Parmesan cheese: For that crispy, salty, savory crust on top.
For Dipping:
- 1 cup warm marinara sauce: Grab your favorite jarred sauce, heat it up, and prepare for dipping bliss.
Step-by-Step Instructions
Follow these super simple steps, and you’ll have a tray of piping-hot, cheesy perfection in under half an hour.
Step 1: Prep Your Work Station and Oven
Preheat your oven to 400°F (200°C). Line a large baking sheet with parchment paper or spray it lightly with non-stick cooking spray. Do not skip the parchment paper, unless you secretly enjoy scrubbing baked-on cheese off metal pans for half an hour.
Step 2: Unroll and Cut the Dough
Pop open your can of pizza dough—try not to jump when it makes that terrifying POP sound—and unroll it onto a lightly floured surface or directly onto your parchment paper. Gently press or roll the dough out into a large rectangle, roughly 10×14 inches in size. Use a pizza cutter or a sharp knife to cut the dough into 8 equal rectangular strips.
Step 3: Wrap Up the Cheese
Take one mozzarella string cheese stick and place it at the edge of a dough strip. Roll the dough tightly around the cheese stick until it’s completely covered. Pinch the seams tightly shut, especially at both ends! If you leave open gaps, the cheese will escape during baking like a prison break, and we want all that cheese locked inside where it belongs.
Step 4: Arrange and Brush
Place your stuffed dough logs seam-side down on your prepared baking sheet, leaving about an inch of space between each one. Lightly brush the tops with a tiny bit of olive oil or melted butter to ensure they bake into a gorgeous golden-brown tone.
Step 5: Mix the Garlic Butter Magic
While the oven finishes preheating, grab a small bowl. Whisk together the melted butter, minced garlic (or garlic powder), parsley, Italian seasoning, and garlic salt until fully combined. Brush half of this butter mixture generously over the tops of the unbaked breadsticks. Save the remaining half for right after they bake!
Step 6: Bake to Golden Perfection
Pop the baking sheet into your preheated oven and bake for 12 to 15 minutes. Keep an eye on them around the 11-minute mark. You’re looking for a deep golden-brown color on the crust and a slightly puffed shape.
Step 7: The Final Polish and Serve
Remove the breadsticks from the oven and immediately brush them with the remaining garlic butter mixture. Sprinkle the grated Parmesan cheese over the top while they are still sizzling hot so it sticks to the crust. Warm up your marinara sauce in a small bowl. Serve the breadsticks hot and enjoy that incredible cheese pull!
Common Mistakes to Avoid
Even simple recipes have a few potential traps. Avoid these rookie errors to ensure your breadsticks turn out flawless every single time.
- Forgetting to Preheat the Oven: Putting dough into a cold oven makes it soggy instead of crispy and fluffy. Wait for that little preheat beep!
- Weak Seam Seals: If you don’t pinch the dough edges tightly around the cheese, it will leak out onto the pan. Take ten extra seconds to seal those seams properly.
- Using Bargain-Bin Cheese: Low-moisture mozzarella string cheese melts predictably. Cheaper cheese substitutes might oil out, leaving you with a greasy mess instead of a creamy filling.
- Skimping on the Garlic Butter: The butter isn’t just a garnish; it adds crucial moisture and flavor to the crust. Be generous!
- Diving In Immediately: I know they smell amazing, but give them 2–3 minutes to cool. Freshly melted cheese is basically culinary lava, and scorched tastebuds will ruin the rest of your meal.
Alternatives & Substitutions
Feeling creative or missing an ingredient? Don’t stress. This recipe is super flexible, so feel free to tweak it based on what you have in your fridge.
- Dough Swap: Can’t find canned pizza crust? Crescent roll dough works great! Just press the perforations together before rolling. You can also use frozen bread dough (thawed) or standard store-bought fresh dough balls from the bakery section.
- Cheese Upgrades: Swap standard mozzarella string cheese for Pepper Jack sticks if you want a spicy kick. Provolone slices rolled up tight also melt beautifully.
- Add Meat: Want to turn these into mini strombolis? Wrap a slice of pepperoni or prosciutto around the string cheese stick before rolling it into the dough. IMO, pepperoni stuffed garlic breadsticks are a game-changer.
- Gluten-Free Options: Use your favorite 1-to-1 gluten-free pizza dough mix or pre-made GF crust. Just keep in mind GF dough can be a little less stretchy, so handle it gently.
- Herbs & Spices: Switch up the toppings with sesame seeds, red pepper flakes for heat, or Everything Bagel seasoning for a fun, savory twist.
FAQ (Frequently Asked Questions)
Can I use margarine instead of butter?
Well, technically yes, but why hurt your soul like that? Real butter provides that rich, bakery-quality flavor and rich golden color that margarine just can’t match. Stick to the real deal if you can!
Why did all my cheese leak out onto the baking sheet?
Ah, the classic cheese explosion! This usually happens if the dough seams weren’t pinched shut tightly enough, or if there was a tiny tear in the dough. Next time, double-check your seals before baking, and make sure to lay them seam-side down on the baking sheet.
Can I make these ahead of time?
Absolutely! You can assemble and roll the breadsticks, place them on the baking sheet, cover them tightly with plastic wrap, and keep them in the fridge for up to 24 hours. When you’re ready to eat, just brush with garlic butter and bake! You may need to add 1–2 extra minutes to the baking time if they’re cold from the fridge.
How do I reheat leftovers?
If you somehow manage to have leftovers (a rare event!), store them in an airtight container in the fridge for up to 3 days. Reheat them in an oven or air fryer at 350°F (175°C) for 5–7 minutes until warm and crispy. Avoid the microwave if possible—it makes the dough chewy and rubbery.
Can I freeze stuffed garlic breadsticks?
Yes! Freeze them unbaked on a baking sheet until solid, then transfer them to a freezer-safe zip-top bag for up to 3 months. Bake them straight from frozen at 375°F (190°C) for about 18–20 minutes.
What if I don’t have fresh garlic?
Garlic powder is a perfectly valid alternative! Use 3/4 to 1 teaspoon of garlic powder in place of the 3 fresh cloves. FYI, garlic powder actually distributes more evenly throughout the butter, so some people even prefer it!
Final Thoughts
There you have it—a fast, foolproof, and completely delicious stuffed garlic breadstick recipe that delivers pure bliss with every cheesy bite. Whether you’re making these as a midnight snack, a game day appetizer, or just a treat to pair with your favorite pasta night, they never fail to impress.
Now stop staring at your screen, head to the kitchen, and go impress someone—or yourself—with your shiny new culinary skills. You’ve earned it!
