
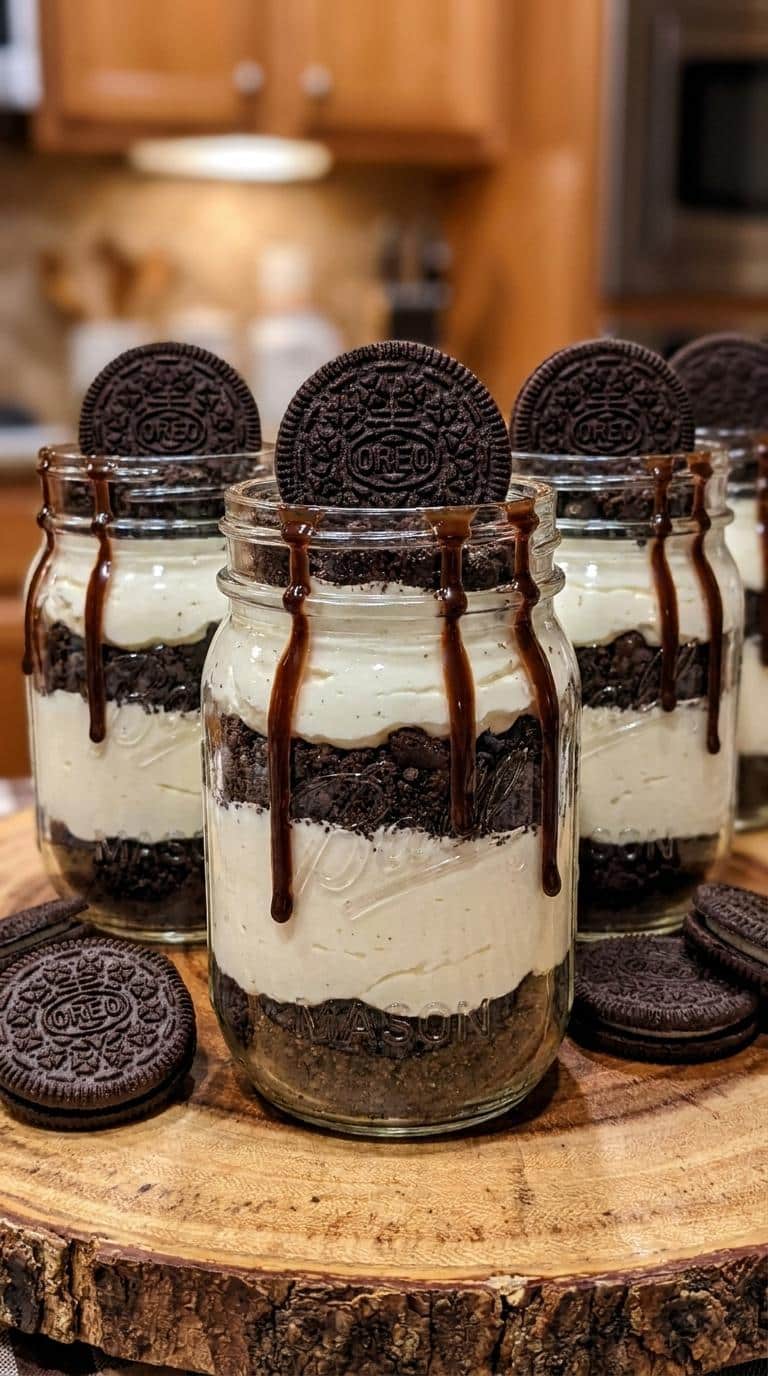
Oreo Cheesecake Cups are individual no-bake desserts layered with a buttery Oreo crust, a fluffy cream cheese filling, and a chocolate drizzle. They come together in about twenty-five minutes, with no oven and no cracked cheesecake to worry about.
This recipe turns pantry staples into a dessert that looks bakery-made. Serve them at parties, potlucks, or any night you want something sweet.
📋 Table of Contents (click to show/hide)
- Why These Oreo Cheesecake Cups Work
- Ingredients for Oreo Cheesecake Cups
- Step-by-Step Instructions
- Chef Tips for Perfect Oreo Cheesecake Cups Results
- Common Mistakes to Avoid When Making Oreo Cheesecake Cups
- Variations and Substitutions
- Serving Suggestions and Pairings
- Storage and Reheating
- Nutritional Information
- Oreo Cheesecake Cups Recipe
- Frequently Asked Questions
| Detail | Information |
|---|---|
| Prep Time | 25 minutes |
| Cook Time | 0 minutes (no-bake) |
| Total Time | 2 hours 25 minutes (includes chilling) |
| Servings | 8 cups |
| Difficulty | Easy |
| Cuisine | American |
Why These Oreo Cheesecake Cups Work
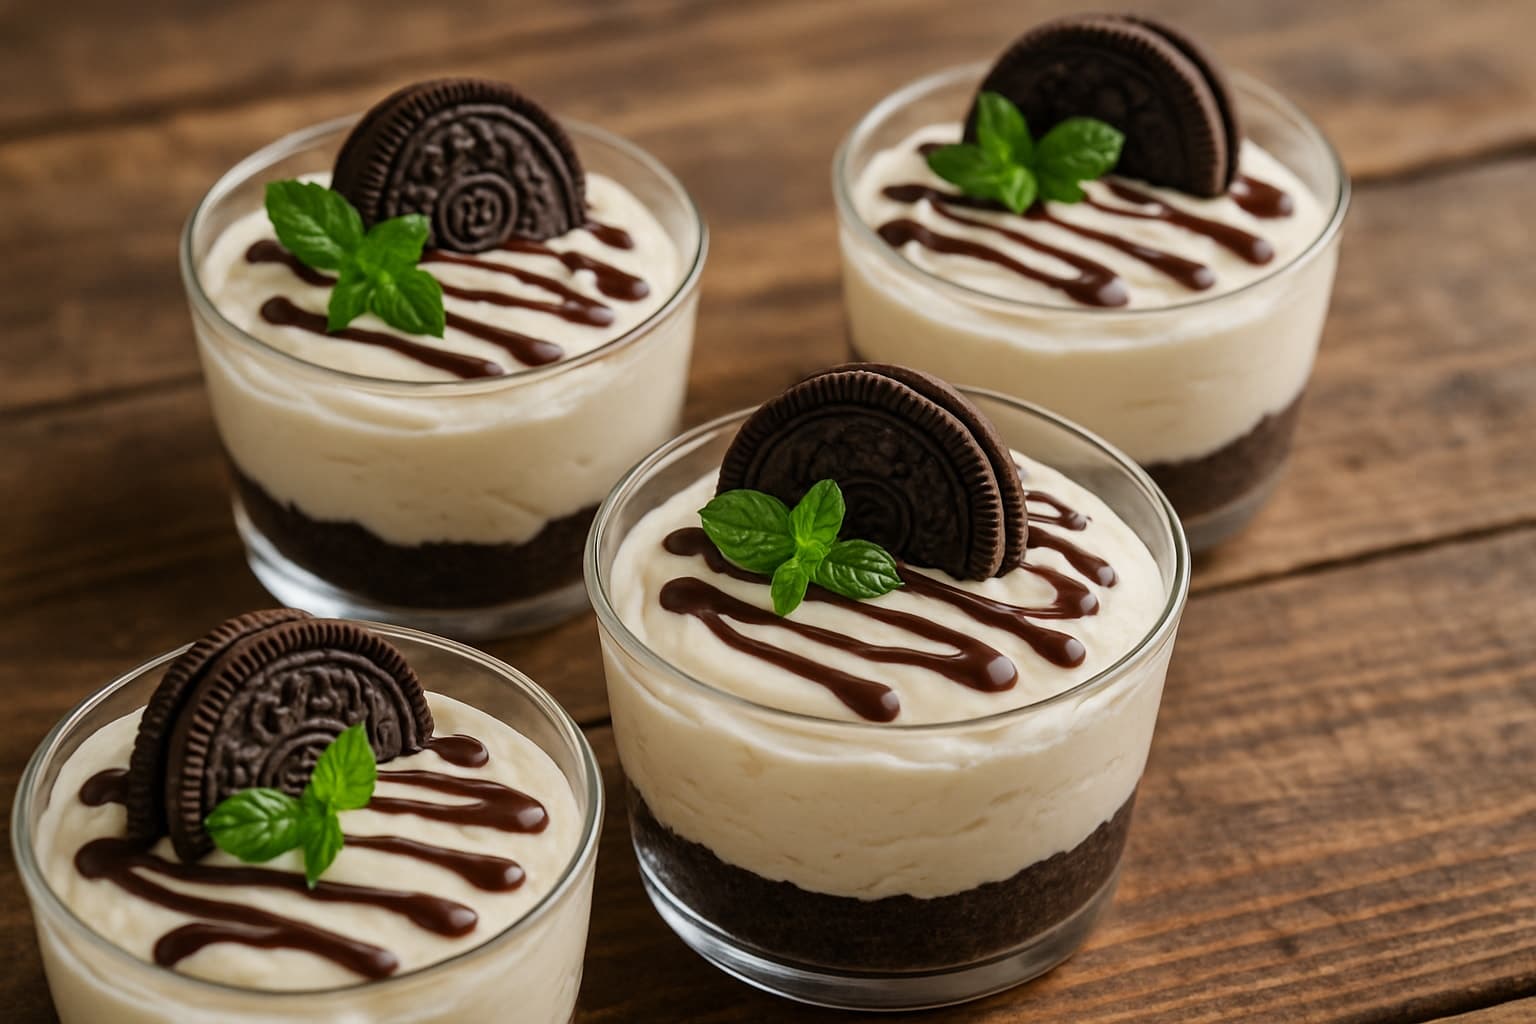
Oreo Cheesecake Cups work because every layer solves a common cheesecake problem without any baking involved. I first made this recipe when my oven broke down right before a family gathering, and I have made it on purpose ever since because the texture beats a baked slice on a hot day.
The crust stays crisp and holds together because the melted butter binds the fine cookie crumbs tightly against the bottom of the cup. Meanwhile, the filling stays light and airy because whipped cream folds pockets of air into an otherwise dense cream cheese base, which keeps each spoonful from feeling heavy.
I have tested this filling with both a hand mixer and a stand mixer, and both tools produce the same silky, spoonable texture as long as the cream cheese is fully softened before mixing. Skipping that softening step is the single biggest reason home bakers end up with lumpy filling.
Individual cups also solve the practical problems of a full-size cheesecake. There is no slicing, no crumbling edges, and no waiting for an entire cheesecake to set overnight in the fridge, since each cup chills and sets on its own schedule.
Ingredients for Oreo Cheesecake Cups
This dessert uses ten simple ingredients split between the crust, the creamy filling, and the toppings. The Oreo cookie has been a pantry staple since 1912, and its chocolate wafer and cream filling give this dessert its signature look and flavor. Below is exactly what goes into each cup and why each ingredient matters.
| Ingredient | Quantity | Notes |
|---|---|---|
| Oreo cookies (for crust) | 28 cookies (about 3 cups crumbs) | From one 14 oz package; reserve 8 whole cookies separately for garnish |
| Unsalted butter, melted | 1/2 cup | Salted butter also works; simply skip any added salt elsewhere |
| Cream cheese, softened | 16 oz (two 8 oz blocks) | Full-fat block-style cream cheese gives the smoothest, richest filling |
| Powdered sugar | 1 cup | Dissolves smoothly into the filling with no graininess |
| Vanilla extract | 1 teaspoon | Use pure vanilla extract rather than imitation for the best flavor |
| Heavy whipping cream | 2 cups | Cold cream whips faster and holds stiff peaks longer |
| Granulated sugar | 1/4 cup | Sweetens and stabilizes the whipped cream layer |
| Oreo cookies, crushed (topping) | 8 cookies | Pulse in short bursts for coarse crumbs, not fine powder |
| Chocolate syrup | For drizzle | Melted chocolate or caramel sauce both work as a substitute |
| Whole Oreo cookies (garnish) | 8 cookies | One per cup for the finishing bakery-style touch |
Every measurement above is calibrated for exactly 8 servings in 8-ounce clear cups or small mason jars. Doubling the recipe works well if you need a larger batch for a party, but plan on chilling the extra cups in two batches if your fridge shelf space is limited.
Step-by-Step Instructions
Making Oreo Cheesecake Cups takes four short phases: the crust, the filling, the assembly, and the chill. Follow the steps below in order for clean, distinct layers every time you make this dessert.
Make the Crust
- Set aside 8 whole Oreo cookies for the final garnish and 8 more cookies for the crushed topping.
- Pulse the remaining 28 Oreo cookies in a food processor until they form fine, even crumbs.
- Pour the melted butter over the crumbs and stir with a fork until the mixture looks like wet sand.
- Press about 2 tablespoons of the crumb mixture firmly into the bottom of each of 8 clear cups or small mason jars.
Make the Filling
- Beat the softened cream cheese with the powdered sugar and vanilla extract on medium speed until completely smooth and lump-free.
- Whip the heavy cream with the granulated sugar in a separate chilled bowl until stiff peaks form.
- Fold one-third of the whipped cream into the cream cheese mixture first to lighten its texture.
- Fold in the remaining whipped cream in two batches, gently, until no white streaks remain.
Assemble and Chill the Cups
- Spoon or pipe the cheesecake filling evenly over the crust in each prepared cup.
- Sprinkle the reserved crushed Oreo topping over the filling in each cup.
- Drizzle chocolate syrup over the top of each cup and finish with one whole Oreo cookie.
- Cover the cups loosely and refrigerate for at least 2 hours, or overnight, before serving.
Chef Tips for Perfect Oreo Cheesecake Cups Results
- Let the cream cheese sit at room temperature for 30 minutes before mixing; this single step prevents nearly all lumps in the filling.
- Chill the mixing bowl and whisk attachment in the freezer for 10 minutes before whipping the cream so it reaches stiff peaks faster and holds them longer.
- Crush the topping Oreos by hand or with a rolling pin inside a zip-top bag for coarse, crunchy pieces instead of fine powder.
- Pipe the filling using a piping bag or a zip-top bag with the corner snipped off for neater, bakery-style layers with sharp edges.
- Give the assembled cups the full 2 hours of chill time, since the filling needs that time to firm up enough to hold its shape when scooped with a spoon.
- Warm the chocolate syrup for about 10 seconds in the microwave for a smoother, thinner drizzle that falls in fine lines rather than clumps.
Common Mistakes to Avoid When Making Oreo Cheesecake Cups
- Using cold cream cheese: Cold cream cheese leaves visible lumps in the filling because it resists blending smoothly with the sugar and vanilla. Soften it at room temperature for at least 30 minutes, or microwave it in 10-second bursts if you are short on time.
- Overwhipping the cream: Cream that passes stiff peaks turns grainy and can separate into butter and liquid within minutes. Stop whipping the moment the whisk leaves clear, firm ridges in the cream.
- Stirring instead of folding: Stirring the whipped cream into the cream cheese base knocks out the air you just whipped in, resulting in a dense, heavy filling. Use a gentle folding motion with a rubber spatula, turning the bowl as you go.
- Skipping the chill time: Serving the cups too soon leaves the filling loose and runny because it has not had time to firm up around the crust. Chill for a minimum of 2 hours, or overnight, for the cleanest layers and firmest texture.
- Over-processing the crust crumbs: Blitzing the cookies for too long turns the crumbs into a paste that clumps unevenly once mixed with butter. Pulse the food processor in short bursts and stop as soon as the crumbs look fine and sandy.
Variations and Substitutions
This recipe adapts easily to whatever cookies, cream, or toppings you already have on hand. The table below shows the swaps I have tested personally and how each one changes the final flavor.
| Ingredient | Substitution | Impact on Flavor |
|---|---|---|
| Oreo cookies | Golden Oreos or chocolate graham crackers | Lighter, less chocolatey crust and topping with a subtle vanilla note |
| Cream cheese | Mascarpone blended half-and-half with cream cheese | Softer, milder tang with a noticeably richer mouthfeel |
| Heavy whipping cream | Store-bought whipped topping | Slightly less rich but saves considerable whipping time |
| Chocolate syrup | Caramel sauce or peanut butter drizzle | Sweeter or nuttier finish instead of chocolate |
| Granulated sugar | Powdered sugar in the whipped cream | Slightly smoother texture with the same overall sweetness |
| Vanilla extract | Almond extract, used at half the amount | Adds a subtle nutty, marzipan-like undertone |
Serving Suggestions and Pairings
Oreo Cheesecake Cups pair best with drinks and dishes that balance their rich, chocolatey sweetness. Serve them at birthday parties, holiday buffets, or as a make-ahead treat for busy weeknight dinners when you need dessert ready before the meal even starts.
A cold glass of milk or a hot cup of coffee cuts through the sweetness of each cup nicely. For a larger dessert spread, set these cups alongside brownie bites, fresh strawberries, or a simple citrus fruit salad for contrast in texture and flavor.
These cups travel well to potlucks, picnics, and office parties since they arrive already portioned and covered. A quick garnish of a mint sprig or a light dusting of cocoa powder on top gives each cup a more polished look for a dinner party.
Kids especially love helping assemble their own cup, adding their preferred amount of crushed cookies and chocolate drizzle before it goes into the fridge to set.
Storage and Reheating
This no-bake dessert needs no reheating since it is served cold straight from the refrigerator. Proper storage keeps the crust from turning soggy and the filling firm for days after you make it.
| Method | Duration | Instructions |
|---|---|---|
| Refrigerator | Up to 4 days | Cover cups tightly with lids or plastic wrap and keep chilled at all times |
| Freezer | Up to 1 month | Freeze without the chocolate drizzle and garnish; thaw overnight in the fridge before topping and serving |
| Room temperature | Up to 30 minutes | Do not leave cups out longer than this, since the filling softens and loses its shape |
Nutritional Information
One serving of this dessert provides a rich, indulgent treat that is best enjoyed in moderation given its cream cheese and cookie content.
| Nutrient | Amount per Serving |
|---|---|
| Calories | 420 kcal |
| Total Fat | 30 g |
| Saturated Fat | 17 g |
| Carbohydrates | 34 g |
| Sugar | 24 g |
| Protein | 5 g |
| Sodium | 260 mg |
Approximate values. Actual nutrition will vary based on the specific brands of cookies, cream cheese, and chocolate syrup used.
Oreo Cheesecake Cups deliver everything a cheesecake fan loves without ever turning on the oven or waiting overnight for a full cheesecake to set. The crisp cookie crust, silky filling, and chocolate drizzle come together in one easy, perfectly portioned dessert suited for any occasion. Once you try these Oreo Cheesecake Cups, they may just become your go-to make-ahead treat for every celebration.
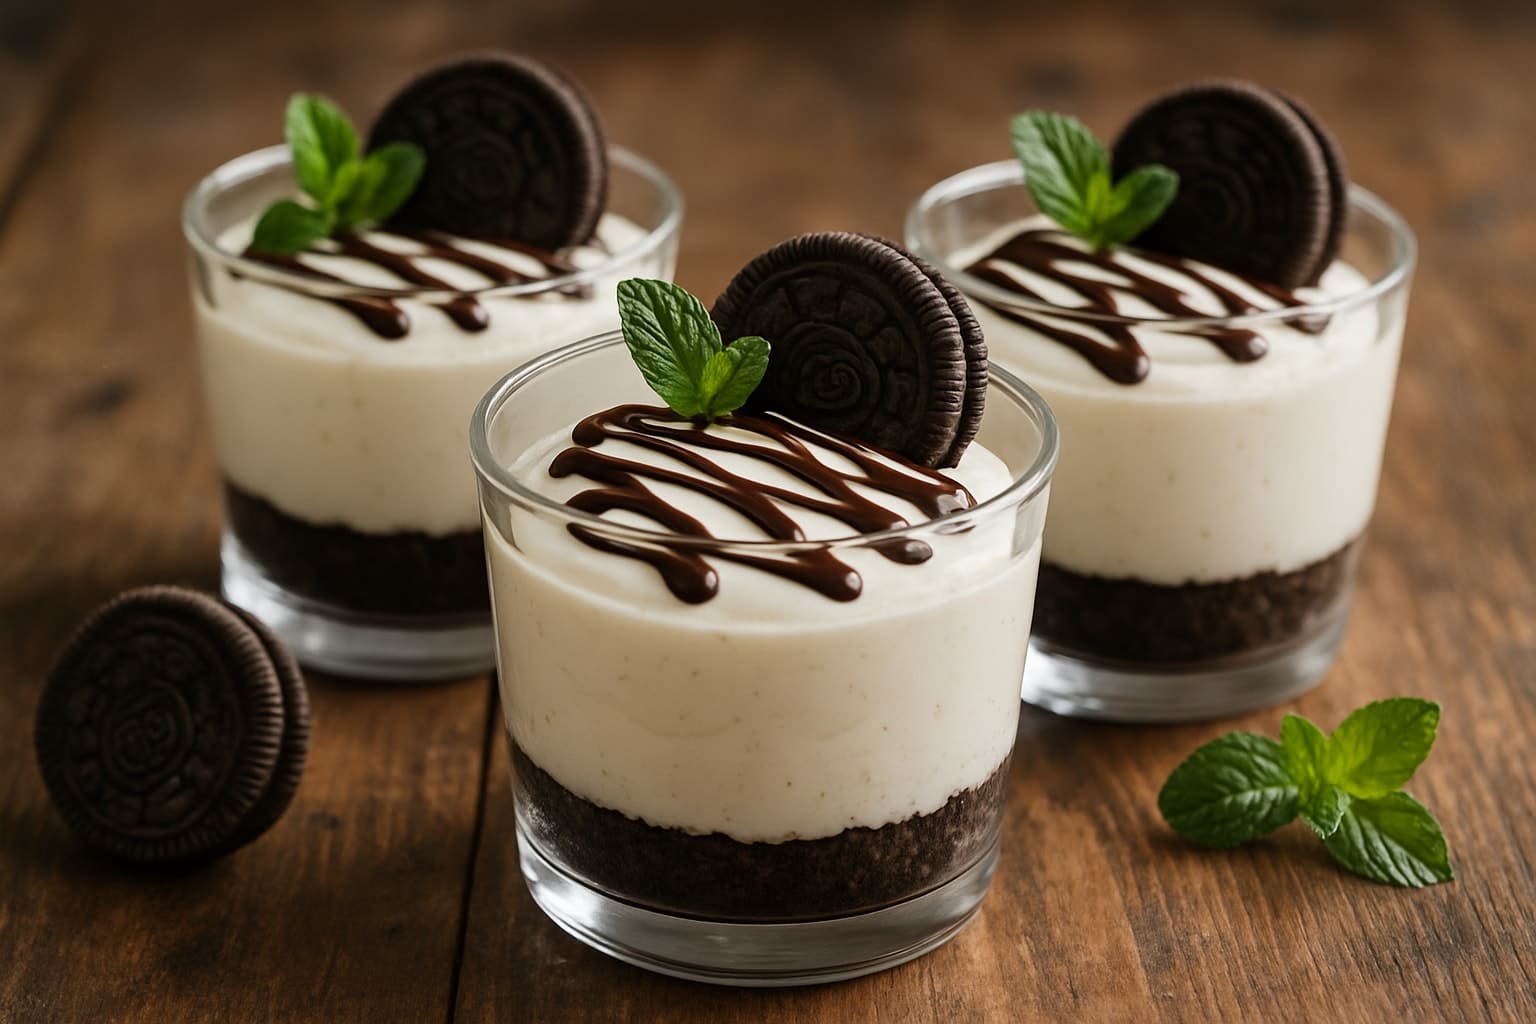
Oreo Cheesecake Cups
Ingredients
Method
- Set aside 8 whole Oreo cookies for garnish and 8 more for the crushed topping.
- Pulse the remaining 28 Oreo cookies in a food processor until finely crushed.
- Stir the melted butter into the crumbs until the mixture resembles wet sand.
- Press about 2 tablespoons of the crumb mixture into the bottom of each of 8 clear cups.
- Beat the softened cream cheese with the powdered sugar and vanilla extract until smooth.
- Whip the heavy cream with the granulated sugar in a separate bowl until stiff peaks form.
- Fold the whipped cream gently into the cream cheese mixture in two additions.
- Divide the cheesecake filling evenly over the crust in each cup.
- Sprinkle the reserved crushed Oreo topping over each cup.
- Drizzle chocolate syrup over the top and finish each cup with a whole Oreo cookie.
- Cover and refrigerate the cups for at least 2 hours before serving.
Notes
Frequently Asked Questions
Can I make Oreo Cheesecake Cups without a food processor?
Yes, you can crush the Oreo cookies by hand using a rolling pin and a sealed zip-top bag. Simply bag the cookies, seal out the air, and crush firmly until you have fine crumbs. This method works just as well as a food processor and requires no extra equipment.
How do I know when the whipped cream has reached stiff peaks?
Stiff peaks form when the cream holds a firm, upright shape on the whisk without drooping over. Lift the whisk straight up and check that the peak stands tall and does not fold back on itself. Stop mixing immediately once you see this stage to avoid overwhipping.
Why is my cheesecake filling runny instead of thick?
Runny filling usually means the cream cheese was not fully softened or the whipped cream was underwhipped before folding. Make sure the cream cheese is smooth and lump-free and that the whipped cream holds firm stiff peaks before combining the two. Chilling the finished cups for a full 2 hours also thickens the texture considerably.
Can I make Oreo Cheesecake Cups ahead of time?
Yes, these cups are an ideal make-ahead dessert and can be fully assembled up to 2 days before serving. Keep them covered tightly in the refrigerator until you are ready to serve. Add the whole Oreo garnish just before serving if you want it to look extra crisp.
What can I use instead of clear cups for serving Oreo Cheesecake Cups?
Small mason jars, wine glasses, or clear plastic dessert cups all work well as substitutes. Any clear vessel that holds about 8 ounces will show off the layers nicely. Avoid opaque cups if you want guests to see the crust, filling, and topping layers.
Can I freeze Oreo Cheesecake Cups?
Yes, you can freeze the assembled cups for up to 1 month if you leave off the chocolate drizzle and whole cookie garnish. Thaw them overnight in the refrigerator before adding the toppings and serving. Freezing with the toppings already on can make the crushed Oreo topping soggy once thawed.
Hungry for more? Browse all our desserts recipes for your next family favorite.
