
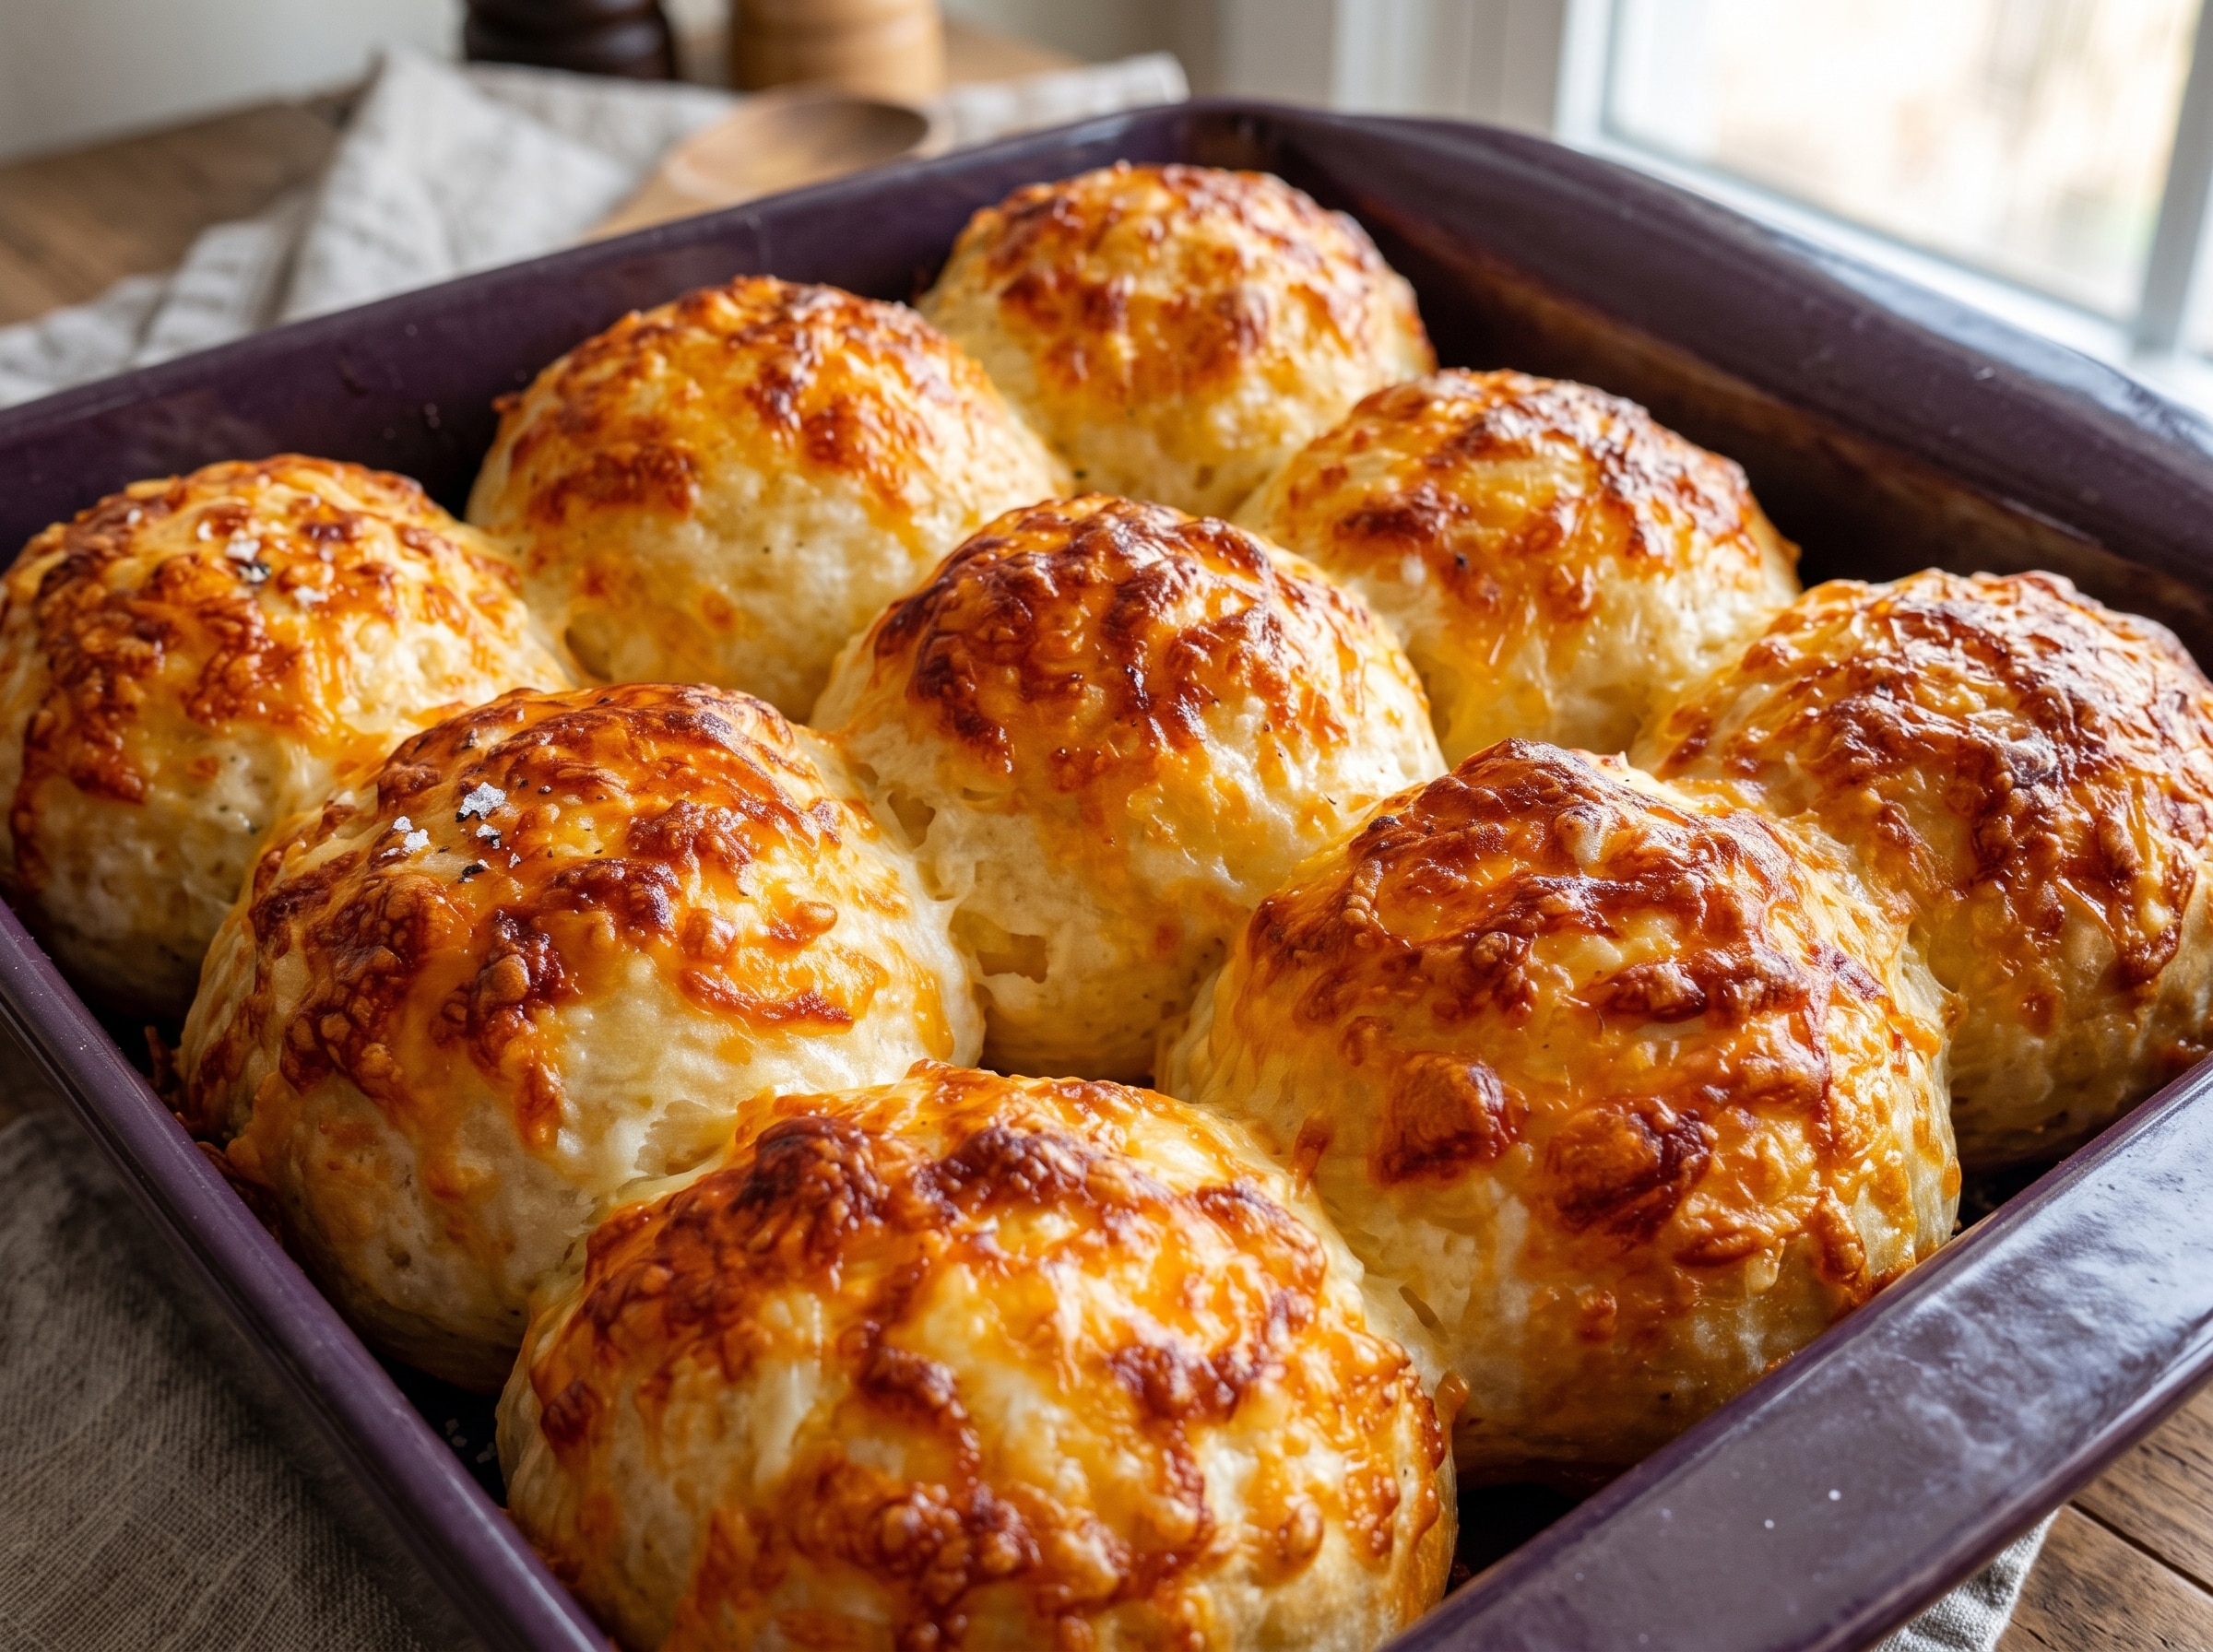
So you’re craving something warm, carb-heavy, and absolutely dripping with melted cheese, but you’re also currently wearing sweatpants and have zero desire to put on hard pants to go to a bakery? Same. Welcome to your new happy place. Today, we are making Cheddar Cheese Rolls that are so ridiculously fluffy and packed with gooey goodness they might actually make you shed a tear. No fancy culinary degree required here—just some basic ingredients, a little bit of patience, and a willingness to let your kitchen smell like a five-star bakery.
Grab your mixing bowl, put on your favorite playlist, and let’s get baking.
Why This Recipe is Awesome
Let’s be honest: bread has a reputation for being high-maintenance. People talk about sourdough starters like they are newborn infants requiring round-the-clock feedings and therapy. But these cheddar cheese rolls? They are delightfully low-maintenance.
Here is why you are going to fall in love with this recipe:
- It is practically foolproof. Even if your previous baking achievements consist entirely of toast, you can handle this. If you can mix things in a bowl and wait for dough to rise, you are fully qualified.
- The texture is unreal. We are talking about pillowy-soft, cloud-like bread wrapped around spirals of molten, sharp cheddar. It is the ultimate comfort food.
- It makes you look like a kitchen wizard. Bringing a tray of warm, scratch-made cheese rolls to any gathering instantly elevates your status to “culinary genius,” even if you spent half the prep time watching funny cat videos on your phone.
- It is highly customizable. Once you master the base dough, you can start throwing in all kinds of wild additions. Jalapeños? Yes. Bacon? Obviously. Garlic butter? Double yes.
Now, let’s look at the lineup of ingredients that are about to transform your kitchen into the best bakery in town.
Ingredients You’ll Need
Do not panic when you see yeast on this list. It is not your enemy; it is simply your bubbly little assistant. Gather these items before you begin so you do not find yourself frantically searching the pantry with flour-covered hands.
- All-purpose flour (about 4 cups): This provides the structure. You do not need to hunt down specialty bread flour unless you really want to show off.
- Active dry yeast (1 packet, or 2 and 1/4 teaspoons): The magic dust that makes our rolls fluffy instead of turning them into dense bricks.
- Warm milk (1 and 1/4 cups): Think of a cozy bath temperature. If it is too hot, you will cook the yeast; if it is too cold, the yeast will stay asleep.
- Unsalted butter (1/2 cup, melted and split): We will use some in the dough and some to brush over the top. Because butter is life.
- Granulated sugar (2 tablespoons): Just a little treat to wake up the yeast and get it moving.
- Salt (1 and 1/2 teaspoons): Do not skip this. Unsalted bread tastes like sadness and cardboard.
- Egg (1 large, room temperature): This adds richness to the dough and helps create a tender crumb.
- Sharp Cheddar Cheese (2 and 1/2 cups, freshly grated): Please, do yourself a massive favor and grate it yourself. The pre-bagged stuff is coated in cellulose powder to keep it from sticking, which also means it refuses to melt into that glorious, gooey cheese pull we are after.
Step-by-Step Instructions
Alright, tie back your hair, roll up your sleeves, and let’s make some magic happen. Follow these steps, and you will be golden.
1. Wake Up the Yeast
In a large bowl, combine your warm milk, sugar, and yeast. Give it a gentle stir and then walk away for about 5 to 10 minutes. When you come back, the mixture should look frothy and smell distinctly like a brewery. If it does not foam up, your yeast is dead, which means you need to discard it and start over with fresh yeast and cooler milk.
2. Mix the Dough
Once your yeast is happily bubbling, whisk in the melted butter, egg, and salt. Gradually add the flour, one cup at a time, stirring with a wooden spoon or a sturdy spatula. Keep mixing until a soft, slightly sticky dough starts to come together and pull away from the sides of the bowl.
3. Knead It Like It Owes You Money
Turn the dough out onto a lightly floured surface. Now, use the heels of your hands to push the dough forward, fold it back over itself, turn it slightly, and repeat. Do this for about 8 to 10 minutes. By the end, the dough should feel smooth, stretchy, and as soft as a baby’s cheek.
Pro-Tip: If the dough passes the “windowpane test”—meaning you can stretch a small piece of it thin enough to see light through it without it tearing—you are officially done kneading!
4. Let It Nap
Shape your beautiful dough into a neat ball and place it into a lightly greased bowl. Cover the bowl with a damp clean kitchen towel or plastic wrap. Place it in a warm, draft-free spot in your kitchen and let it rise for about an hour, or until it has doubled in physical size. Use this time to catch up on your favorite show or pretend to do laundry.
5. The Rollout and Cheese Avalanche
Once your dough has risen, punch it down right in the center to release the built-up air. It is incredibly satisfying, so enjoy the moment. Turn the dough out onto a floured surface and roll it into a large rectangle, roughly 12 by 18 inches. Spread a thin layer of softened butter across the surface, leaving a small border around the edges, and then cover every single square inch with your freshly grated cheddar cheese.
6. Roll and Slice
Starting from one of the long edges, roll the dough up tightly into a log, just like you would with cinnamon rolls. Pinch the seam at the end to seal everything inside. Using a very sharp serrated knife—or a piece of clean, unflavored dental floss slid underneath the roll—slice the log into 12 even rolls.
7. The Second Nap
Grease a 9×13-inch baking dish and arrange your rolls inside, cut-side up. Cover them gently and let them rise for another 30 to 45 minutes. They will puff up, crowding together and filling the dish with gorgeous, cheesy potential.
8. Bake to Golden Perfection
While the rolls are completing their second rise, preheat your oven to 375°F. Slide the pan of rolls onto the center rack and bake for 20 to 25 minutes. You are looking for a deep, golden-brown crust and cheese that is bubbling and slightly crispy around the edges.
Remove them from the oven, brush the tops with a little extra melted butter, and let them cool for just a few minutes before diving in.
Common Mistakes to Avoid
Even though this recipe is incredibly forgiving, baking is still a science. To keep your rolls from turning into kitchen disasters, avoid these classic traps:
- Yeast Murder: Using milk that is too hot is the number one way to ruin your dough before you even start. If the milk burns your finger, it will absolutely kill your yeast. Aim for lukewarm.
- The Pre-Shredded Trap: IMO, buying pre-shredded cheese is a massive mistake here. The anti-caking agents prevent the cheese from melting together smoothly, leaving you with dry, grainy pockets of cheese instead of gooey pockets of joy.
- Impatience with the Rise: Do not rush the rising times. If your kitchen is cool, the dough will take longer to rise. If you bake the rolls before they have properly puffed up, they will turn out dense and heavy instead of light and airy.
- Using Too Much Flour: It is tempting to dump in extra flour if your dough feels sticky while kneading. Resist the urge! A slightly sticky dough makes a soft roll. Too much flour results in a dry, tough texture. Keep your hands floured, not the dough.
Alternatives & Substitutions
Baking should be an expression of your personal cravings. Here are a few ways you can customize this recipe to match your mood:
- The Spicy Kick: Toss in some finely diced fresh jalapeños with the cheddar cheese before rolling. The heat cuts through the rich cheddar beautifully.
- The Meat-Lover’s Dream: Sprinkle cooked, crumbled bacon over the cheese before rolling it up. Bacon and cheddar are a match made in culinary heaven.
- The Garlic Herb Twist: Mix some garlic powder and dried Italian herbs directly into the melted butter before brushing it over the dough. It is like a garlic knot and a cheese roll had a highly delicious baby.
- The Cheese Swap: While sharp cheddar is the classic choice, you can easily substitute Pepper Jack, smoked Gouda, or a mix of Mozzarella and Parmesan. Just make sure whatever cheese you choose melts well!
FAQ (Frequently Asked Questions)
Can I use instant yeast instead of active dry?
Absolutely! If you use instant yeast, you can skip the proofing step in the warm milk and mix the yeast directly in with your dry ingredients. Your rising times will also be a bit faster, so keep a close eye on the dough.
Why didn’t my dough rise?
Your yeast was likely dead, your kitchen was too cold, or you used liquid that was hot enough to cook the yeast. If your kitchen is chilly, try putting your covered dough bowl inside an turned-off oven with the oven light turned on. That light bulb creates the perfect warm microclimate!
Can I make these ahead of time?
Yes, and you absolutely should if you want fresh rolls for breakfast without waking up at dawn. After shaping and placing the sliced rolls in the baking dish, cover them tightly and put them in the fridge overnight. The next morning, let them sit on the counter for about 45 minutes to warm up and finish their rise before baking.
Can I freeze these rolls?
You certainly can. You can freeze them fully baked—just let them cool completely, wrap them tightly, and freeze for up to 3 months. When you are ready to eat, thaw them and pop them into a 350°F oven for about 10 minutes to make them taste fresh-baked again.
Is it normal to eat three of these straight out of the oven?
It is not only normal; it is highly encouraged. Just be careful not to burn the roof of your mouth on the molten cheese. We have all been there, and it is a painful lesson in patience.
Final Thoughts
There you have it—warm, soft, incredibly cheesy cheddar rolls made completely from scratch. Baking bread does not have to be a stressful, hyper-precise ordeal. With a little time and a block of good cheddar, you can create something truly spectacular right in your own kitchen.
Now go impress someone—or just treat yourself to an epic snack on the couch. You have earned every single bite!
