
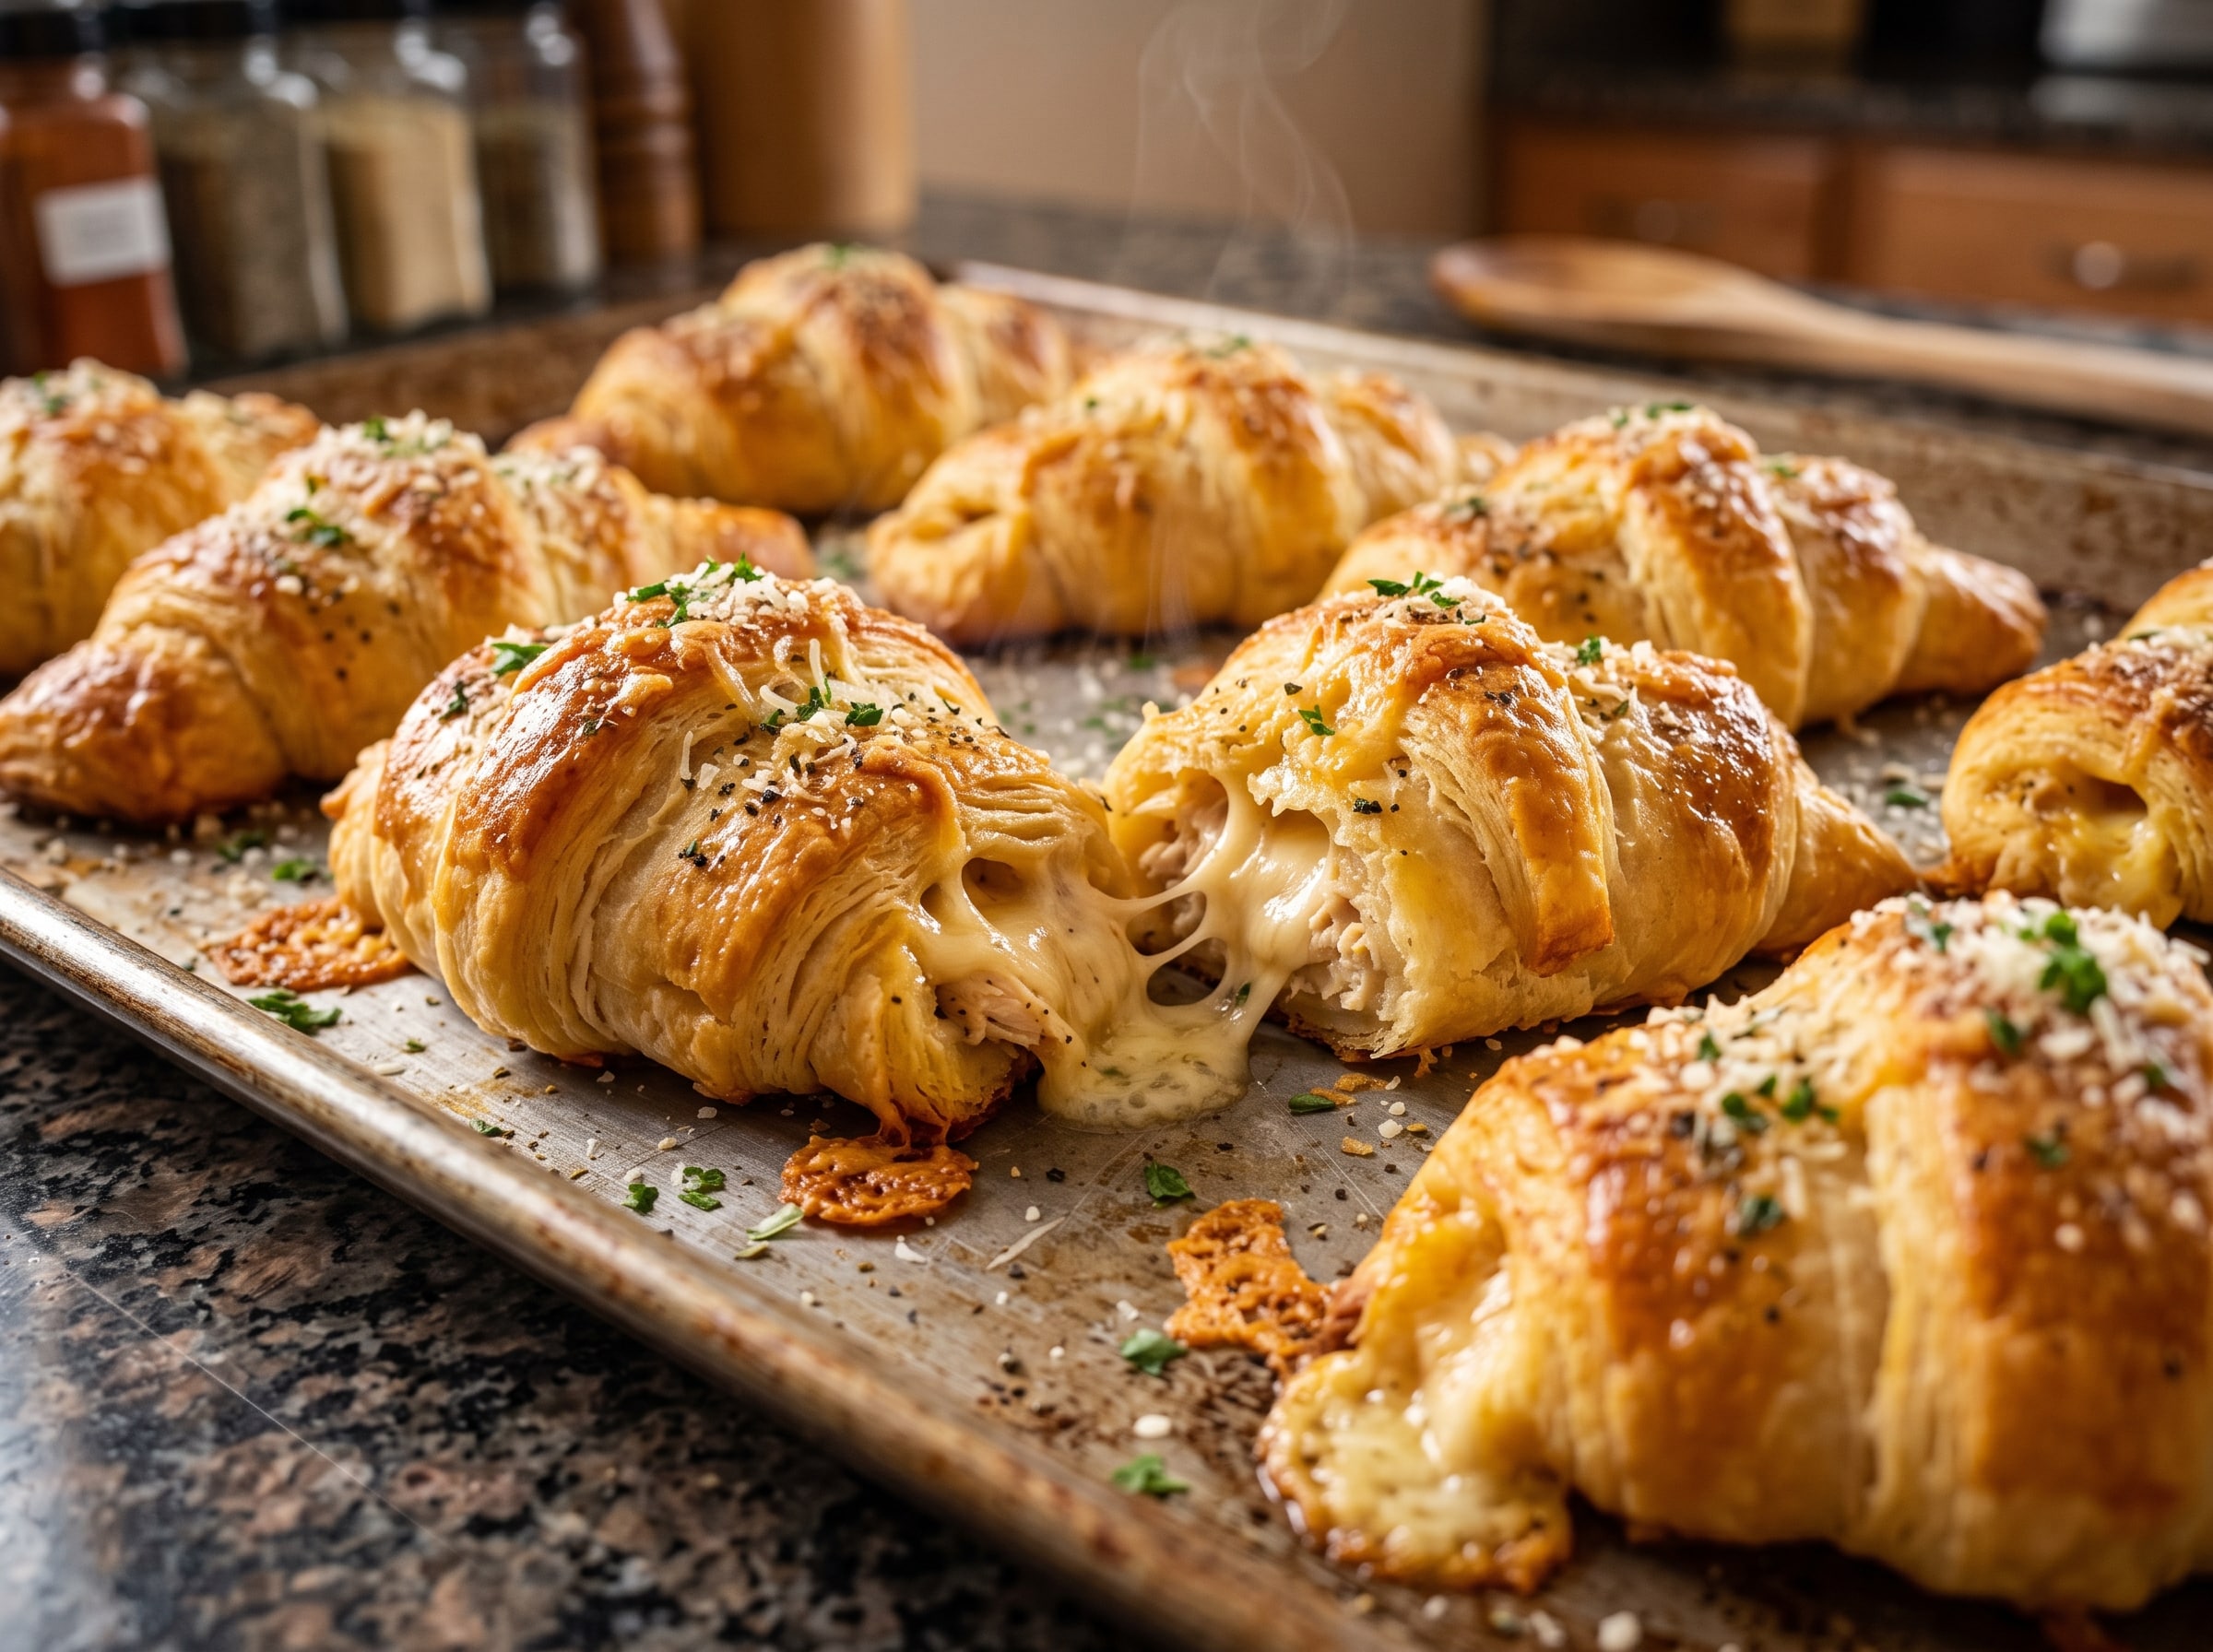
So you’re craving something incredibly warm, buttery, and satisfying, but you are also profoundly, deeply lazy today? Honestly, same. We have all been there. You stand in front of your open refrigerator, staring blankly at the shelves for five full minutes as if a gourmet three-course meal is suddenly going to materialize between the jar of pickled jalapeños and that questionable carton of milk. It won’t. But do not despair, because you do not need a Michelin star or three hours of prep work to create culinary magic. All you need is some leftover chicken, a ton of cheese, and the absolute miracle of modern engineering that is refrigerated crescent roll dough.
Let’s be completely real for a second: crescent roll dough is a gift to humanity. It’s soft, it’s pre-measured, it’s dripping with synthetic buttery goodness, and popping that pressurized can is the closest thing we have to extreme sports in the kitchen. When you stuff those golden triangles of joy with a rich, savory, cream-cheese-infused chicken filling and bake them to bubbly perfection, something truly spiritual happens. Your kitchen will smell like a high-end French bakery, but your effort levels will have peaked at “mildly energetic”.
Whether you’re trying to feed a stampede of hungry kids who reject anything green, attempting to impress a date while pretending you actually know how to cook, or just looking for the ultimate late-night comfort food to eat in your pajamas on the couch, this recipe is your new best friend. It is fast, it is incredibly forgiving, and it tastes like a million bucks. So, grab your apron (or just roll up your sleeves, we don’t judge), and let’s make some magic happen.
Why This Recipe is Awesome
Let’s analyze why this dish deserves a permanent, gold-plated spot in your weekly dinner rotation. First of all, it is fundamentally idiot-proof. Even if you’ve historically managed to burn cereal or start a small grease fire while boiling water, you cannot mess this up. The crescent dough does all the heavy lifting. It forms its own perfect, flaky pastry shell, locking in the moisture and creating a gorgeous golden crust without requiring you to roll out pie crusts or worry about yeast. If you can wrap a piece of dough around a spoonful of filling, you are fully qualified to make this.
Second, it is the ultimate masterclass in food recycling. Got some dry, uninspiring chicken breasts left over from Tuesday’s attempt at meal prep? Toss them in here. A rotisserie chicken that’s seen better days? Strip it down and welcome it to the party. This recipe breathes new, cheesy life into leftover poultry, transforming dry meat into a rich, creamy, melt-in-your-mouth masterpiece. In fact, using pre-cooked chicken is actually preferred, making this a lightning-fast assembly job.
Finally, the texture contrast here is downright illegal. You get the crispy, flaky, buttery crunch of the outer pastry, followed immediately by a warm, molten, savory center of cream cheese, melted cheddar, and tender chicken. It’s a sensory experience that tricks your brain into thinking you spent hours preparing it. Plus, it is completely customizable. You can adapt it to whatever random ingredients are currently languishing in your pantry. It is, IMO, the most versatile comfort food snack in existence.
Pro Tip: If you’re hosting a party, double the batch. These rolls have a magical habit of disappearing within approximately forty-five seconds of leaving the oven. Do not say we didn’t warn you!
Ingredients You’ll Need
Before we begin our assembly line of deliciousness, let’s gather our cast of characters. No fancy gourmet trips required here; your local neighborhood grocery store will have every single one of these items in abundance.
- 1 can (8 oz) Refrigerated Crescent Roll Dough: The star of our show. Grab the original buttery flaky variety. Yes, the pressurized can is terrifying to open, but stay strong.
- 1.5 cups Cooked Chicken (Shredded or Finely Cubed): Rotisserie chicken is the absolute cheat code here. It’s already seasoned, juicy, and ready to roll. Otherwise, poached or baked chicken breasts work beautifully.
- 4 oz Cream Cheese (Softened): Make sure it’s at room temperature! Trying to mix cold cream cheese is an aerobic workout no one asked for. This is what makes our filling impossibly rich and creamy.
- 1 cup Sharp Cheddar Cheese (Shredded): Because “cheesy” is literally in the title of this recipe. Sharp cheddar brings a nice punchy flavor, but feel free to use Monterey Jack or Colby.
- 2 tablespoons Unsalted Butter (Melted): This is for brushing over the top of the rolls before they go into the oven. Why? Because you can never have too much butter.
- 1/2 teaspoon Garlic Powder & Onion Powder: The dynamic duo of pantry seasonings. They add a savory, aromatic kick to the chicken filling that takes it from “good” to “restaurant-quality”.
- 1/4 teaspoon Salt & Black Pepper: To taste, obviously. Don’t skimp on the pepper; it cuts through the richness of the cheese beautifully.
- Optional: 1 tablespoon Fresh Parsley or Chives (Finely Chopped): If you want to make these look fancy and green so you can pretend you’re healthy.
Step-by-Step Instructions
Alright, let’s roll up our sleeves and put this together. Follow these simple steps, and you’ll have hot, bubbly crescent rolls ready to devour in no time.
Step 1: Get Your Oven Ready
First, preheat your oven to 375°F (190°C). Line a large baking sheet with parchment paper or a silicone baking mat. If you don’t have either, just spray it lightly with non-stick cooking spray. Do not skip this step; we want our rolls to slide off the pan, not become permanently bonded to the metal.
Step 2: Conquer the Cream Cheese
In a medium mixing bowl, combine your softened cream cheese, garlic powder, onion powder, salt, and black pepper. Use a sturdy spoon or a hand mixer to beat it until it’s smooth and creamy. If your cream cheese is still a bit cold, microwave it for 10-15 seconds to soften it up. A smooth cream cheese base ensures every single bite of your rolls is uniformly delicious and creamy.
Step 3: Build the Ultimate Filling
Now, fold in your shredded chicken and the cup of sharp cheddar cheese. Mix everything together thoroughly until the chicken is completely coated in the cheesy mixture. Give it a taste. Need more salt? More pepper? Throw it in now. This is your masterwork; make it taste exactly the way you want it to.
Step 4: The Terrifying Can Pop
Take a deep breath, peel the paper off the crescent roll can, and press a spoon against the seam until it pops. Once you’ve recovered from the minor adrenaline rush, unroll the dough and separate it into its eight pre-cut triangles. Lay them out flat on your prepared baking sheet.
Step 5: Load Them Up
Spoon a generous, equal portion of the cheesy chicken mixture onto the wide end of each dough triangle. You want to use up all the filling, but don’t overstuff them to the point where they can’t close. Leave a little bit of room around the edges so the dough can wrap around the sides of the filling.
Step 6: Roll and Tuck
Starting at the wide end of the triangle (where the filling is), gently roll the dough toward the pointed end, tucking the sides in slightly as you go to prevent the filling from escaping. Don’t worry if they don’t look perfect. Rustic-looking crescent rolls still taste incredible, and the melted cheese will cover up any minor structural flaws anyway!
Step 7: The Golden Butter Finish
Brush the tops of your assembled crescent rolls with the melted butter. If you want to feel like a fancy chef, sprinkle a tiny pinch of coarse salt, some garlic powder, or your chopped parsley over the wet butter. It adds a gorgeous visual appeal and an extra hit of savory flavor to the baked crust.
Step 8: Bake to Perfection
Pop the baking sheet into your preheated oven and bake for 12 to 15 minutes, or until the crescent rolls are puffed up, beautifully golden brown, and the cheese is starting to bubble out of the seams. Keep an eye on them starting around the 11-minute mark, as crescent dough can go from “perfectly golden” to “deeply charred” surprisingly fast.
Step 9: Cool (Slightly!) and Devour
Remove them from the oven and let them cool on the baking sheet for about 3 to 5 minutes. As tempting as it is to immediately shove one of these molten pockets of joy directly into your mouth, your taste buds will thank you for waiting. The filling is essentially liquid lava right now. Once safe to handle, serve them warm and enjoy!
Common Mistakes to Avoid
While this recipe is incredibly forgiving, there are a few classic pitfalls that can turn your culinary triumph into a bit of a mess. Let’s make sure you avoid them:
- Using Cold Cream Cheese: We cannot stress this enough. If you try to mix cold, block-hard cream cheese with chicken, you will end up with dry chunks of chicken and random, sad lumps of cream cheese. Soften it first! Your arms and your taste buds will thank you.
- Overstuffing the Dough: We get it, you love cheese. We do too. But if you try to pack a half-cup of filling into a single crescent triangle, the dough will tear, the seams will split, and your beautiful filling will leak all over the baking sheet, leaving you with empty, sad hollow shells. Keep the portions reasonable.
- Skipping the Parchment Paper: Crescent dough is inherently buttery, but melted cheese is notoriously sticky. If some filling leaks out (which is normal!), it will bake onto a bare pan like superglue. Save yourself the scrubbing and use parchment paper.
- Not Preheating the Oven: Putting baked goods into a cold oven is a classic rookie mistake. The dough needs that immediate blast of heat to rise, puff up, and create those beautiful, flaky, airy layers. Otherwise, they’ll just melt into flat, greasy disks.
Alternatives & Substitutions
One of the absolute best things about this recipe is how ridiculously adaptable it is. Think of the base recipe as a canvas, and you are the artist. Here are a few of our favorite ways to switch things up, depending on what’s currently in your fridge:
- The Spicy Kick (Buffalo Chicken Style): Toss your shredded chicken in a few tablespoons of Frank’s RedHot sauce before mixing it with the cream cheese. Swap out the cheddar for pepper jack, and dip the finished rolls in blue cheese or ranch dressing. This is a game-changer for game days!
- The Fiesta Twist (Taco Chicken Style): Mix a tablespoon of taco seasoning into your cream cheese filling, and add a small can of drained diced green chiles or a handful of black beans. Serve them with a side of salsa and guacamole. It’s like a chimichanga but much easier.
- The Herb & Garlic Fancy Edition: Use a flavored cream cheese (like garlic and herb or chive and onion) as your base. Mix in some shredded mozzarella and a pinch of Italian seasoning. Brush the tops with garlic butter and a sprinkle of parmesan cheese for an absolute garlic-bread-style masterpiece.
- The Breakfast Roll-Up: Who says chicken gets to have all the fun? Swap out the chicken for cooked, crumbled bacon or breakfast sausage, and use Colby Jack cheese. It’s the ultimate brunch food that will make you the hero of any morning gathering.
FAQ (Frequently Asked Questions)
Can I make these ahead of time and bake them later? Absolutely! You can assemble the rolls, place them on your baking sheet, cover them tightly with plastic wrap, and keep them in the fridge for up to 4 hours before baking. Just add a minute or two to the baking time since the dough will be cold when it goes into the oven. FYI, we don’t recommend freezing them unbaked, as the dough can lose its puffiness.
What do I do if my crescent rolls open up during baking? First, don’t panic. It happens to the best of us! If a seam splits and a little cheese oozes out, it actually looks deliciously rustic and artisanal. Next time, just make sure to pinch the dough seams together tightly when rolling, and avoid putting too much filling near the edges of the triangles.
Can I use canned chicken instead of rotisserie chicken? Well, technically yes, you can. But you’ll want to make sure you drain it incredibly well and break it up thoroughly with a fork. Canned chicken has a higher moisture content, which can make your filling a bit runny if not drained properly. If you’re in a pinch, go for it, but rotisserie chicken remains the gold standard for texture and flavor.
How should I store and reheat leftovers? If by some miracle you have leftovers, store them in an airtight container in the fridge for up to 3 days. To reheat, avoid the microwave if you want to keep that crispy texture—it will make them sad and soggy. Instead, pop them back into a toaster oven or standard oven at 350°F (175°C) for 8-10 minutes until they are heated through and the pastry crisps back up.
Can I use low-fat cream cheese or cheese alternatives? You can certainly use Neufchâtel or low-fat cream cheese, and they will still taste great. However, try to avoid completely fat-free cream cheese, as it doesn’t melt well and can get a bit watery when heated. For the cheddar, pre-shredded low-fat cheese also has trouble melting smoothly, so stick to the real-deal full-fat stuff whenever possible for that perfect ooey-gooey texture.
Final Thoughts
And there you have it—the easiest, cheesiest, most satisfying chicken crescent rolls you will ever lay your hands on. It is comfort food at its finest: warm, rich, incredibly simple to make, and guaranteed to put a smile on everyone’s face. Cooking doesn’t always have to be about hours of labor, fancy techniques, or washing fifty different pans. Sometimes, the best meals are the ones that come together in less than half an hour using a few simple ingredients and a healthy dose of cheese.
So, what are you waiting for? Step away from the refrigerator door, stop staring at that empty shelf, and go pop open a can of crescent rolls. Whether you’re making these for yourself on a lazy Friday night or serving them up to a crowd of hungry friends, you are about to be the most popular person in the room. Go impress someone—or just yourself—with your new, effortless culinary skills. You’ve earned every single buttery, flaky, cheesy bite!
